DESIGN PROCESS OF: A WHITE CARD MAQUETTE OF A 1954 LONDON FLAT
I decided to make a white card maquette for the first project of my final semester of university. I called it “Set Up” and project 1/7 and it involved designing a 1950s flat for my Amelia graphics to appear in to give me a sense of how I might go about filming the final graphics on set. I designed the graphic props as project 02. These models are a big part of early set design in TV and film, they are not usually the job of the graphics department, but as I didn’t have a set designer I thought I’d do it myself and add in colourful paper indicators of where graphics might go to help me pre-visualise the scenes.
I began by researching into the art of model making and found a great book by Ruth Bjorklund published in America, 2019, called “Set Design in TV and Film”. In chapter 3, page 42 she talks about the craft. A part I found funny but also important was this statement by maquette designer David Neat, “If there’s only one thing you remember from this information make it this-it will take twice as long as you think it will.” I found this amusing and a fair warning. Usually everything takes much longer than I give it time for.
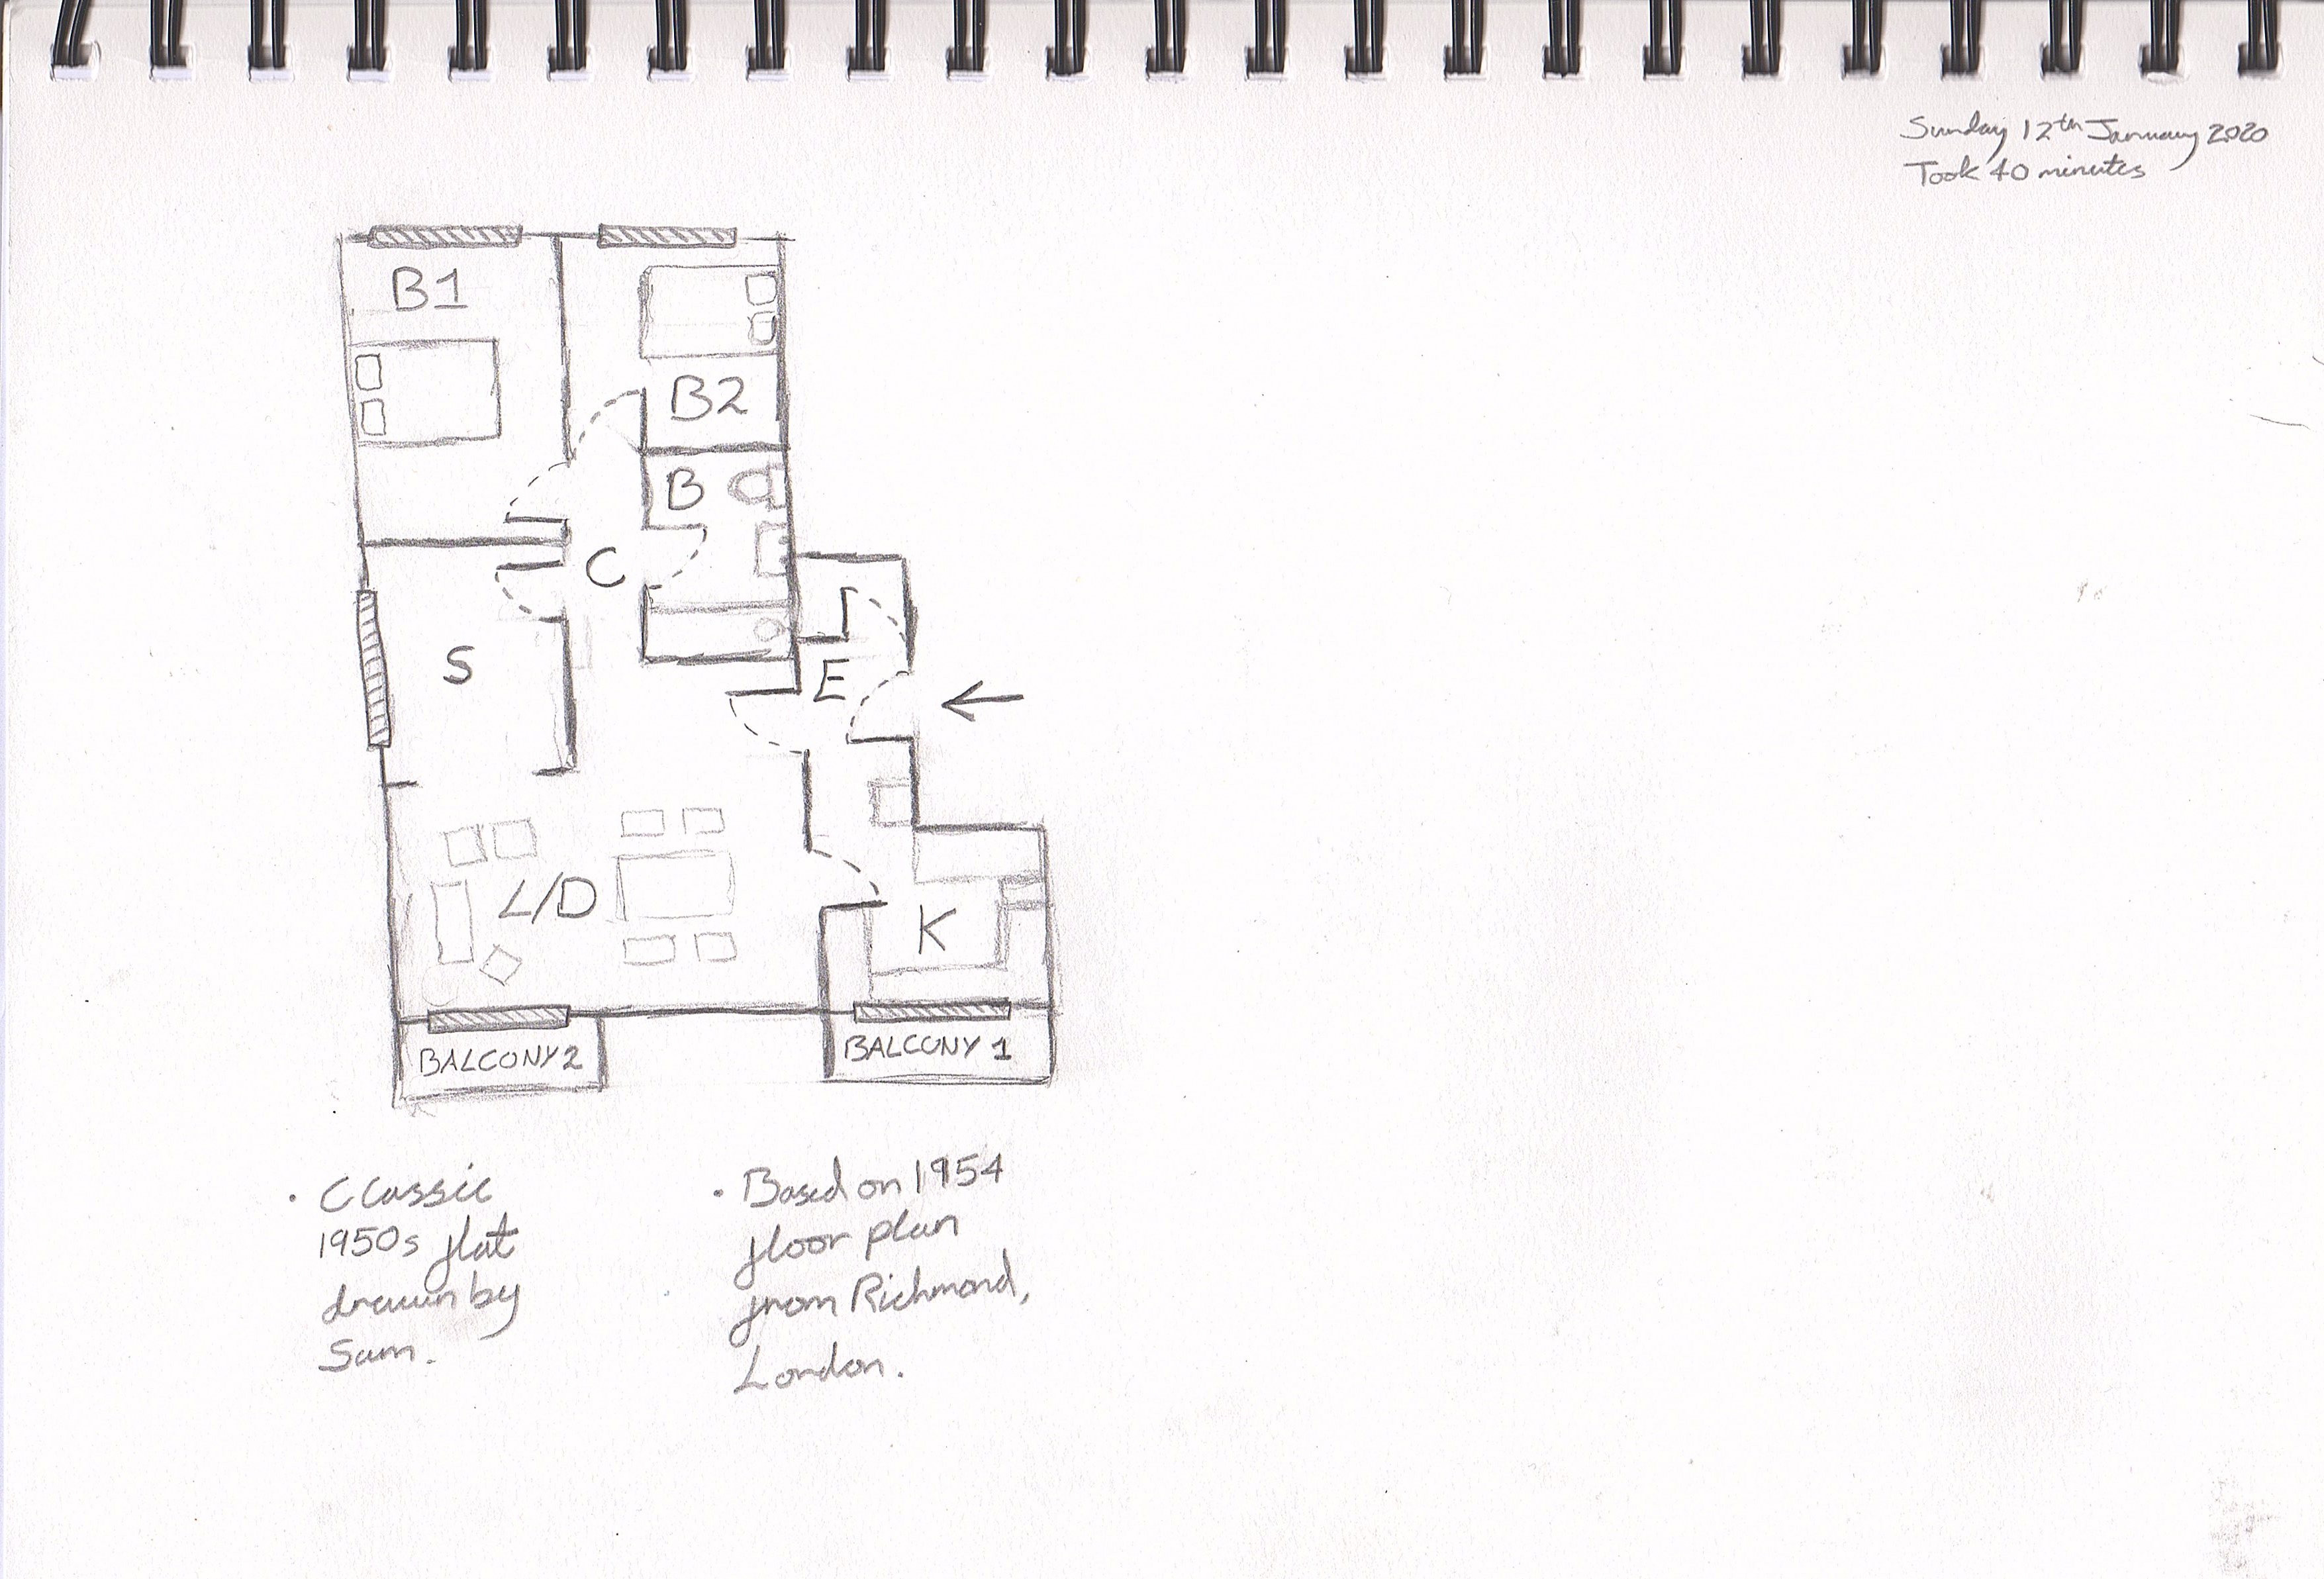
I then started the design process by researching how 1950s city flat layouts looked and from those designs sketched my own one out, using similar elements. I chose to design a small apartment to increase the feeling of claustrophobia as this reflects Amelia’s trapped feeling which eventually leads her to leaving forever. The flat I designed, although quite large by today’s standards, during the 1950s this would have been small. Once my sketch was complete, I gathered together research into existing maquettes made for screen construction. I found the photos I’d taken of white card models at Leavesden Studios. The models they made for Harry Potter were really interesting and I used them to study style.
I made a few changes to my initial drawing before designing, such as only having one bedroom and moving the bathroom to the right of the building. I chose to use stiff, foam board for the thick and sturdy walls and floor of my model. Then I would use heavy white card stock for the windows, doors, balcony, furniture etc… all the more detailed item that needed a lot of bending or shaping. I’d then use coloured, labelled paper, lightly taped to the walls or surfaces to indicate graphic prop locations in real life.
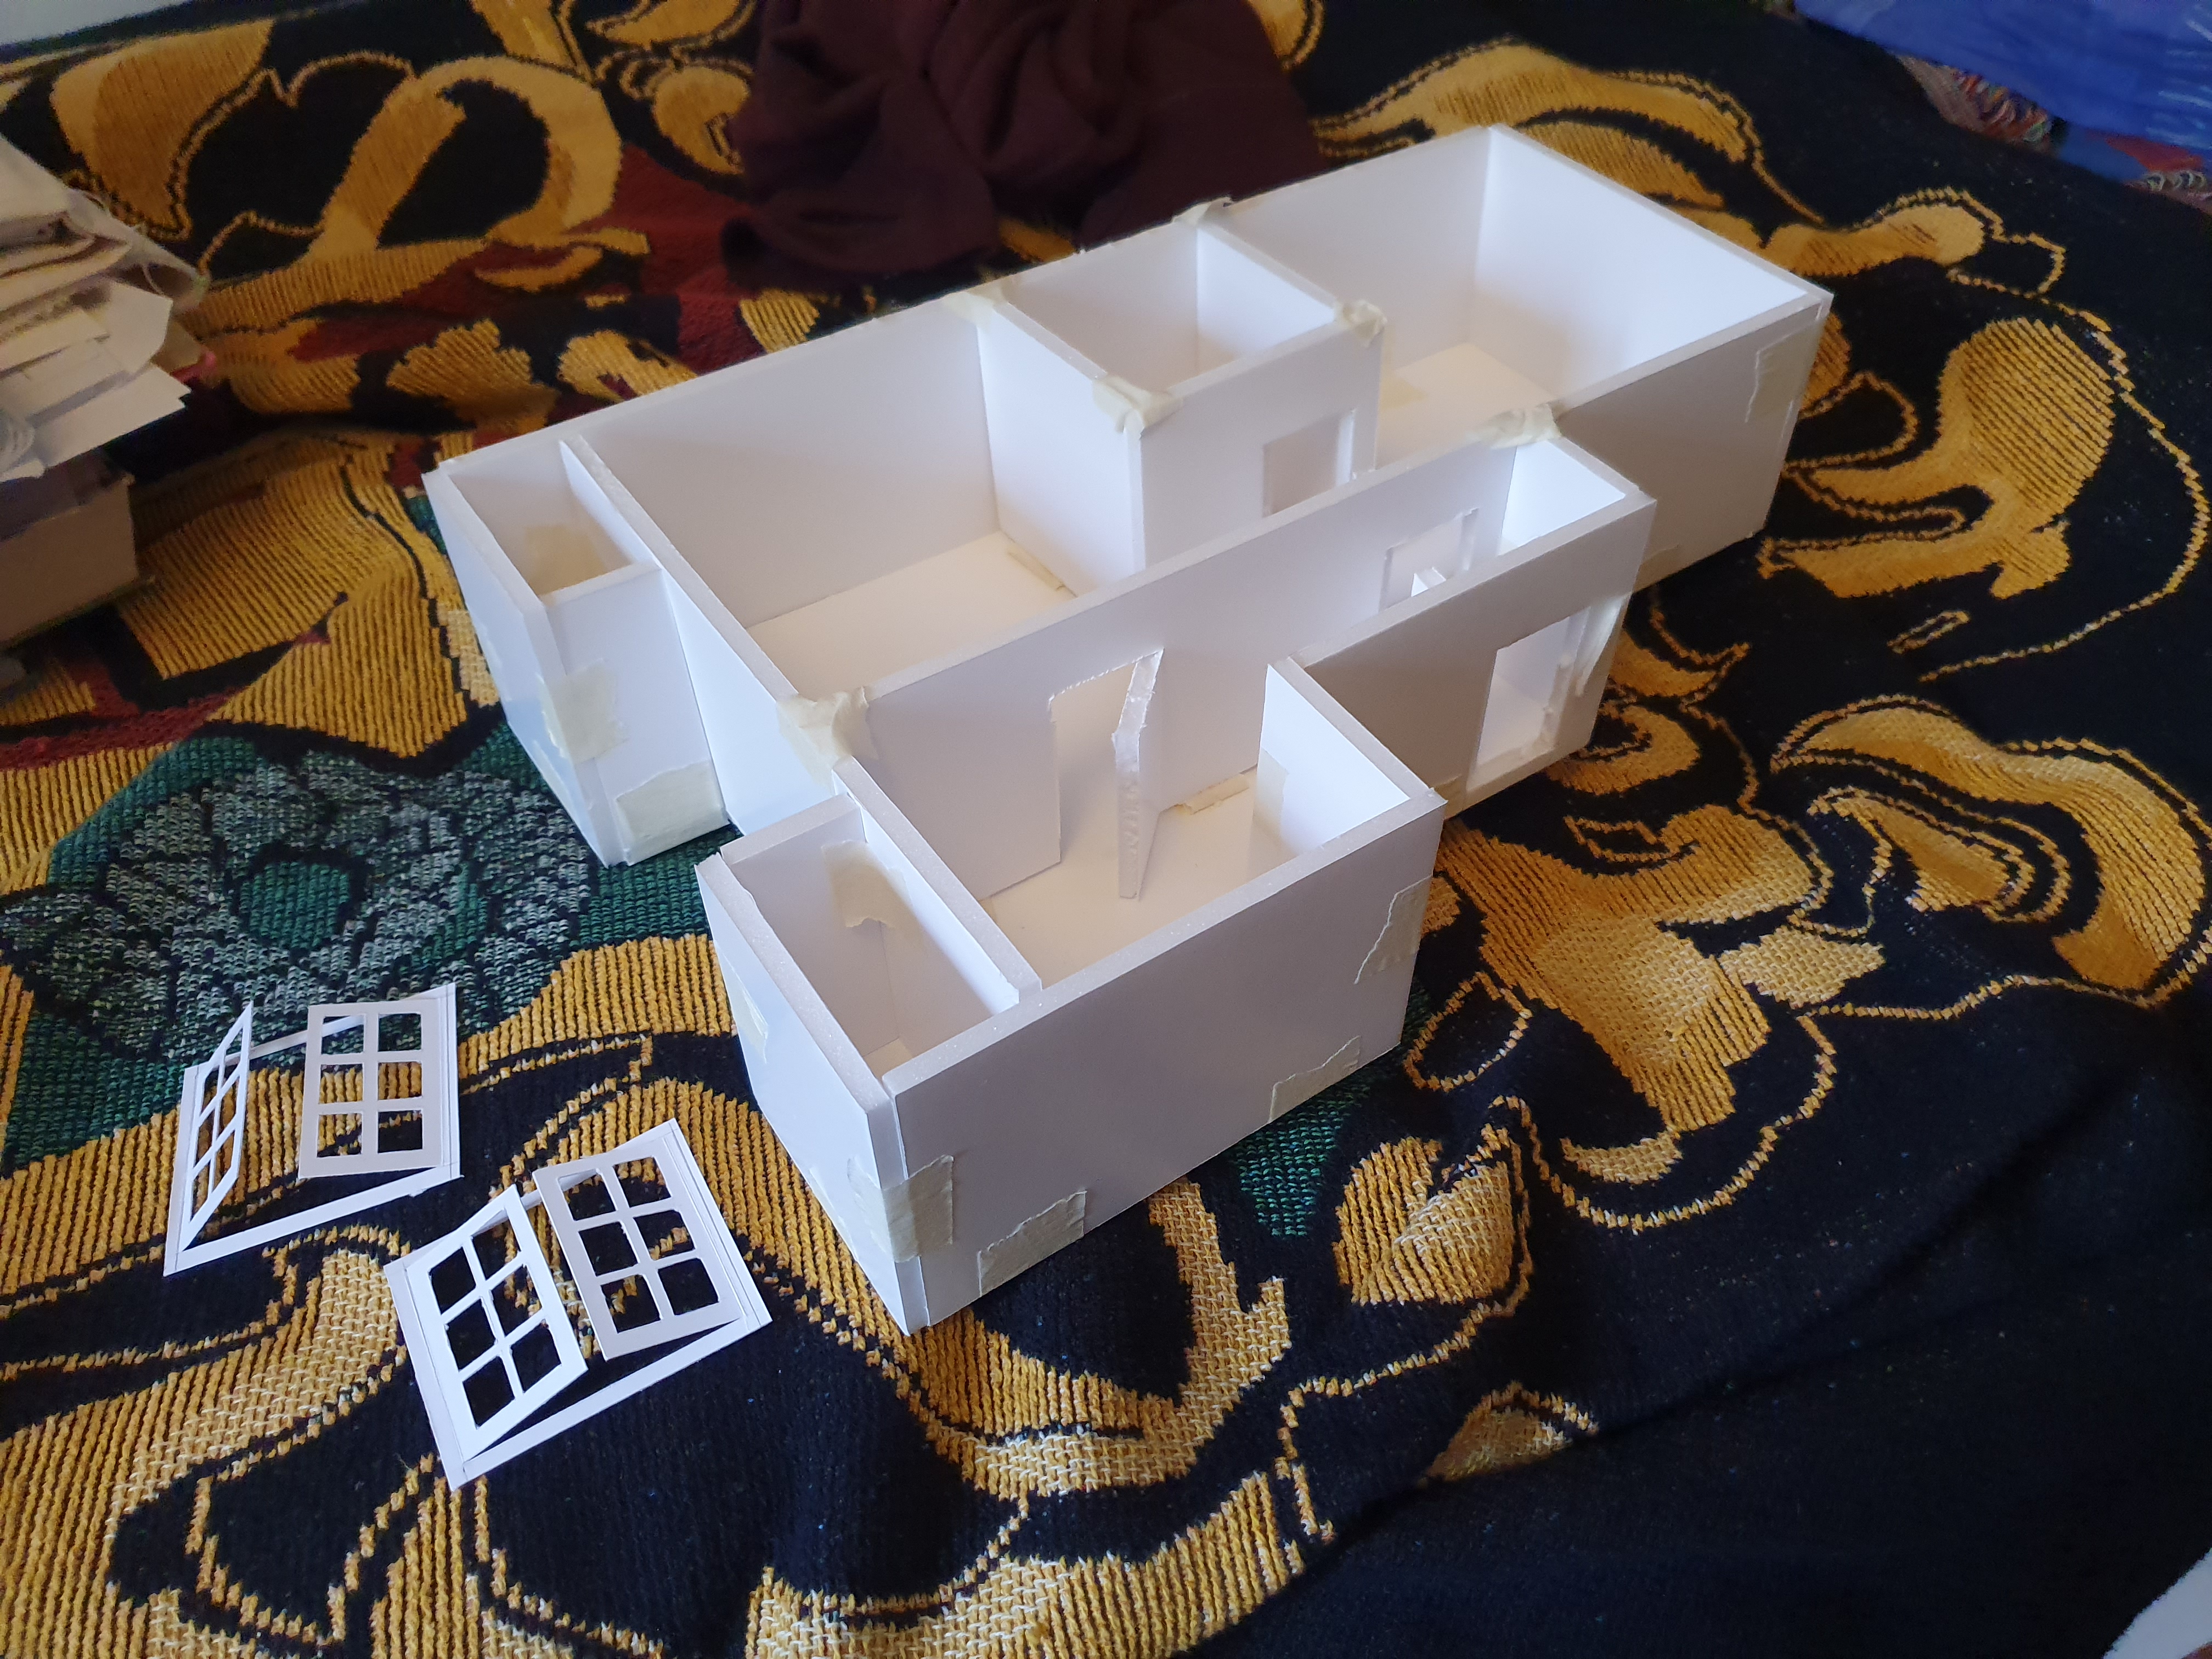
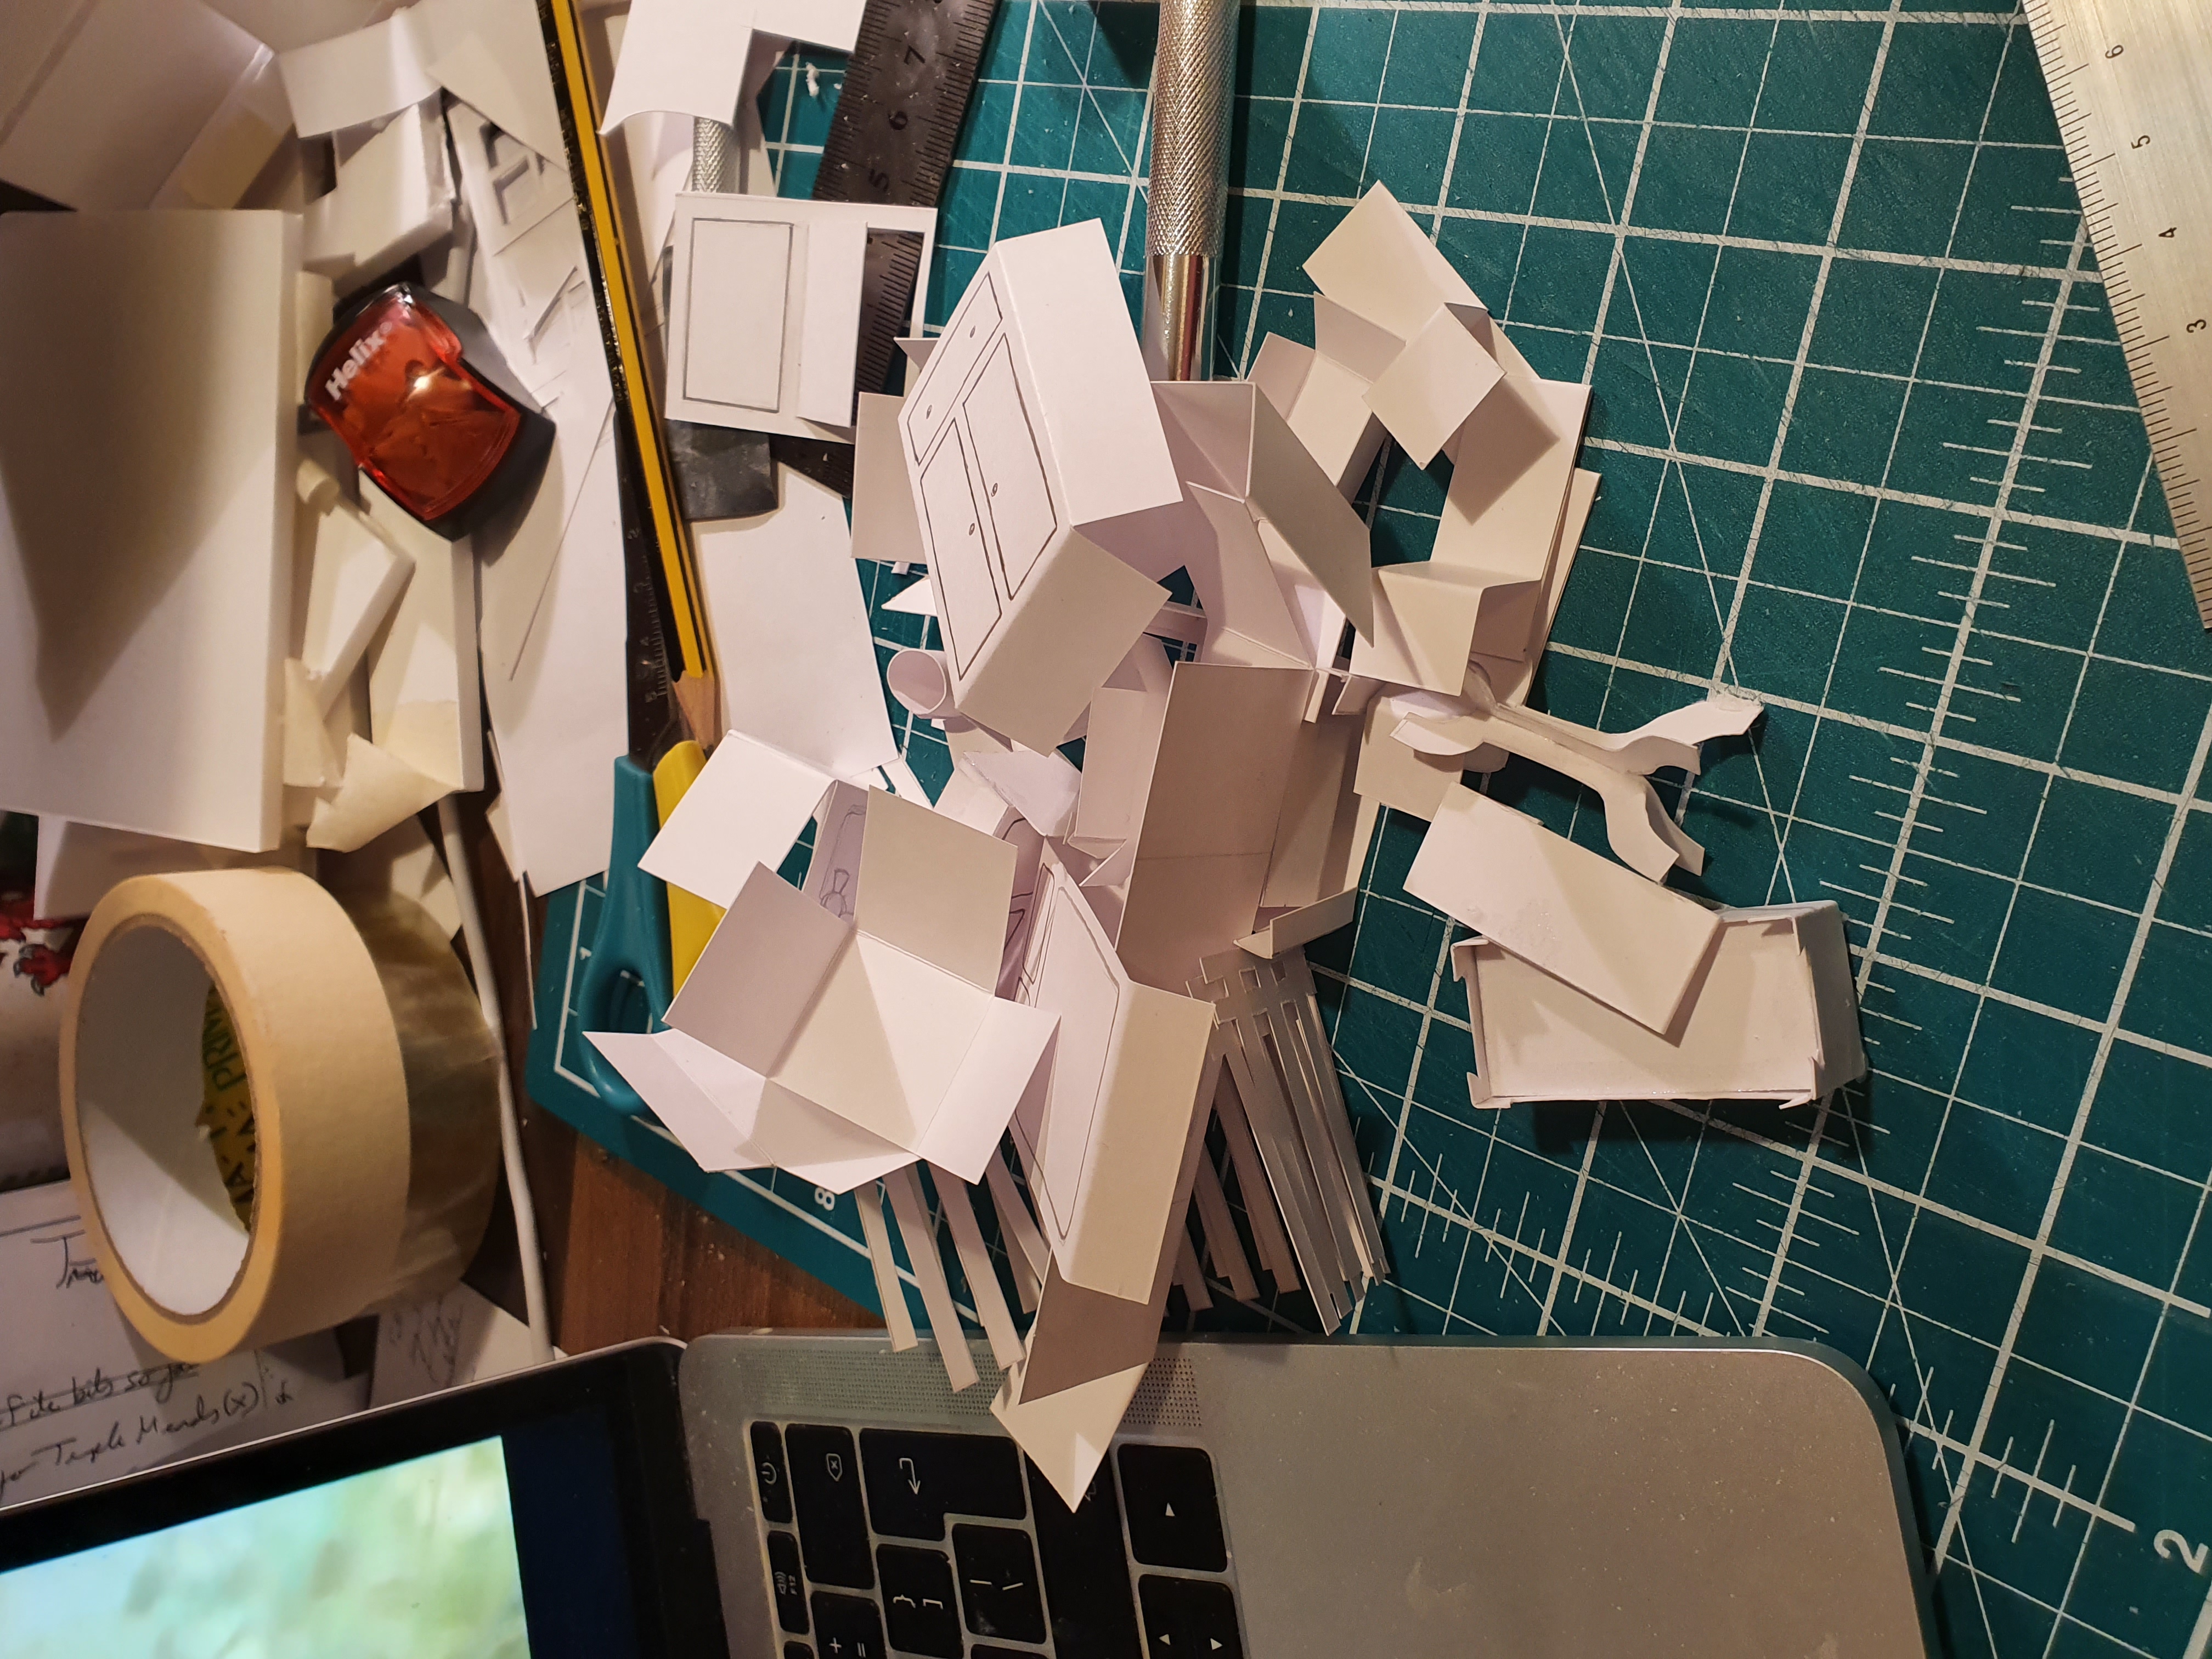
Not being a set designer, I wasn’t much interested in making everything to scale and accurate to the mm, especially as I only had 7 days for the entire project and I was already on day 2. The relevance of this project to me was getting a 3D representation of where the graphics would go. I finally began cutting the foam board for the base layout and the walls, which I loosely taped together with masking tape. This helped give me scale to make the windows and doors to. By not glueing everything straight away meant I could tweak the design if needed.
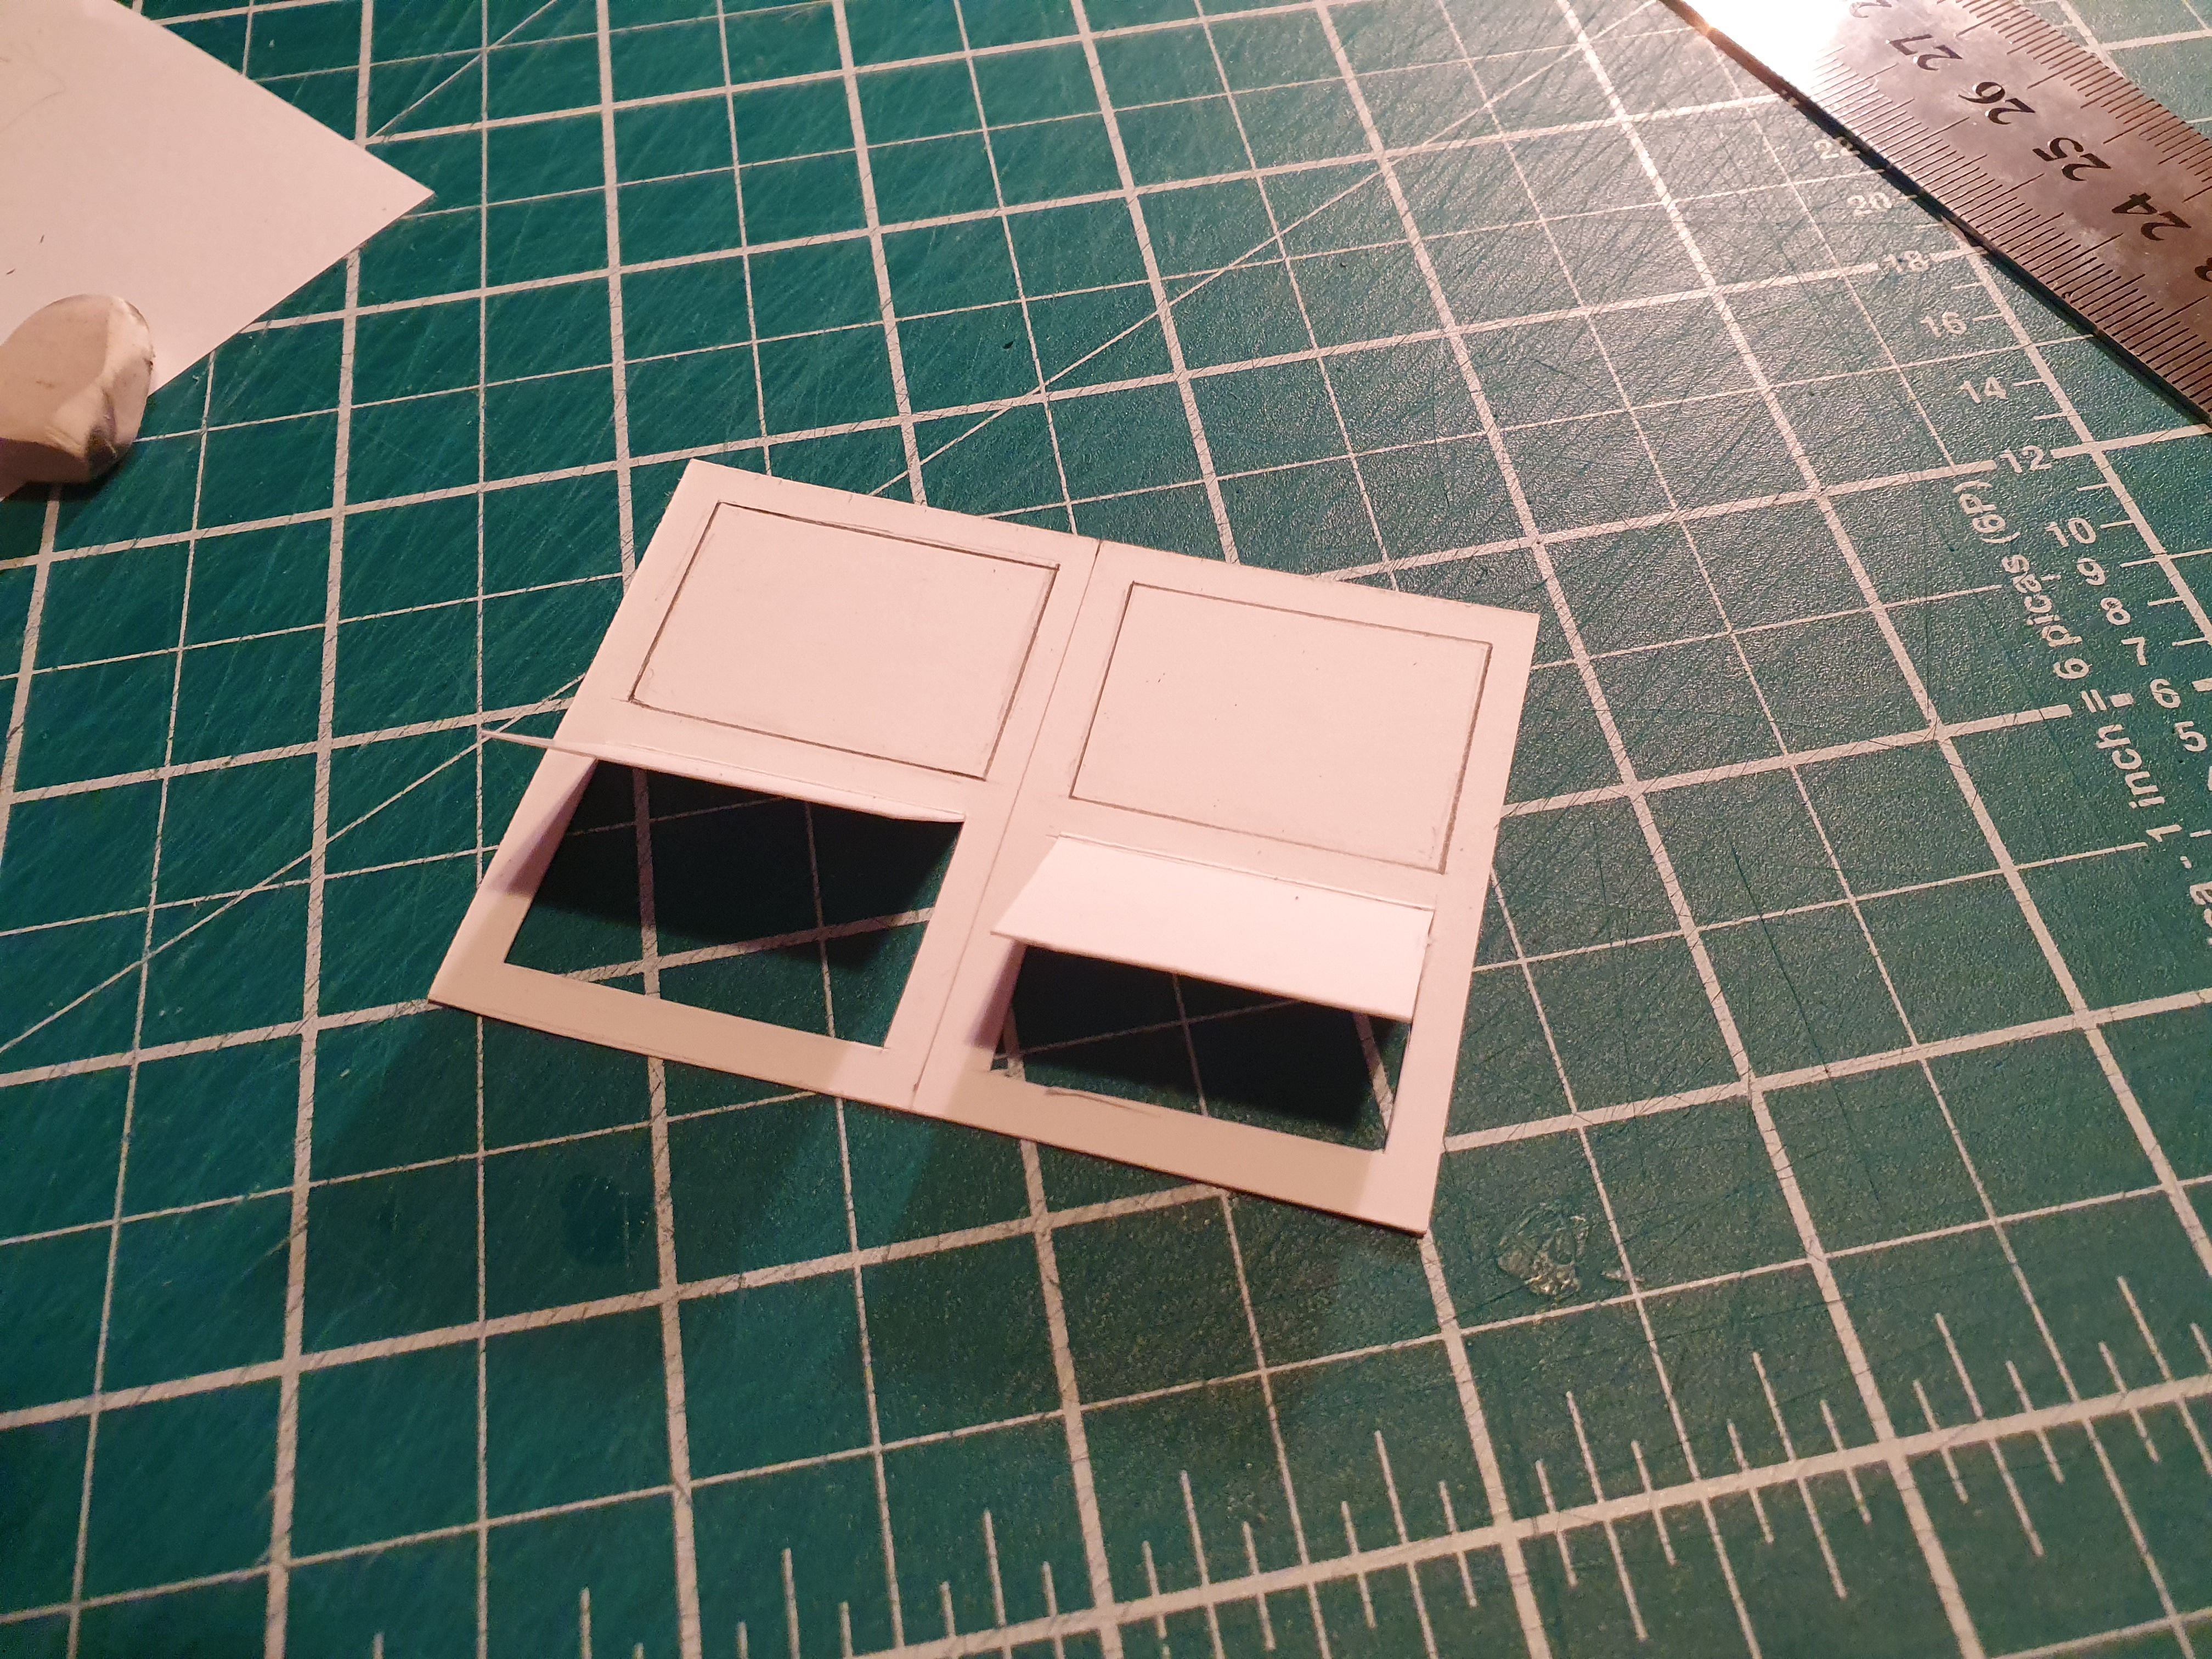
I sketched out and cut the double windows from 300gsm Bristol board which I chose to use as it’s strong, sturdy and when folded it can hold its shape. I designed the main windows so they could all open and close, and then cut the frames out of the wall pieces and fitted the windows in. I did the same with the doors and door frames. Lastly, I sketched and cut the 2 balcony railings and simple windows that went behind them which only half opened. I used my scalpel blade for all of this as it was fiddly.
When it did come to glueing, I chose to use a slower drying super glue called “Bostik” for fixing all my pieces together. The glue takes 30s to go off, giving me time to place and reposition pieces if necessary.
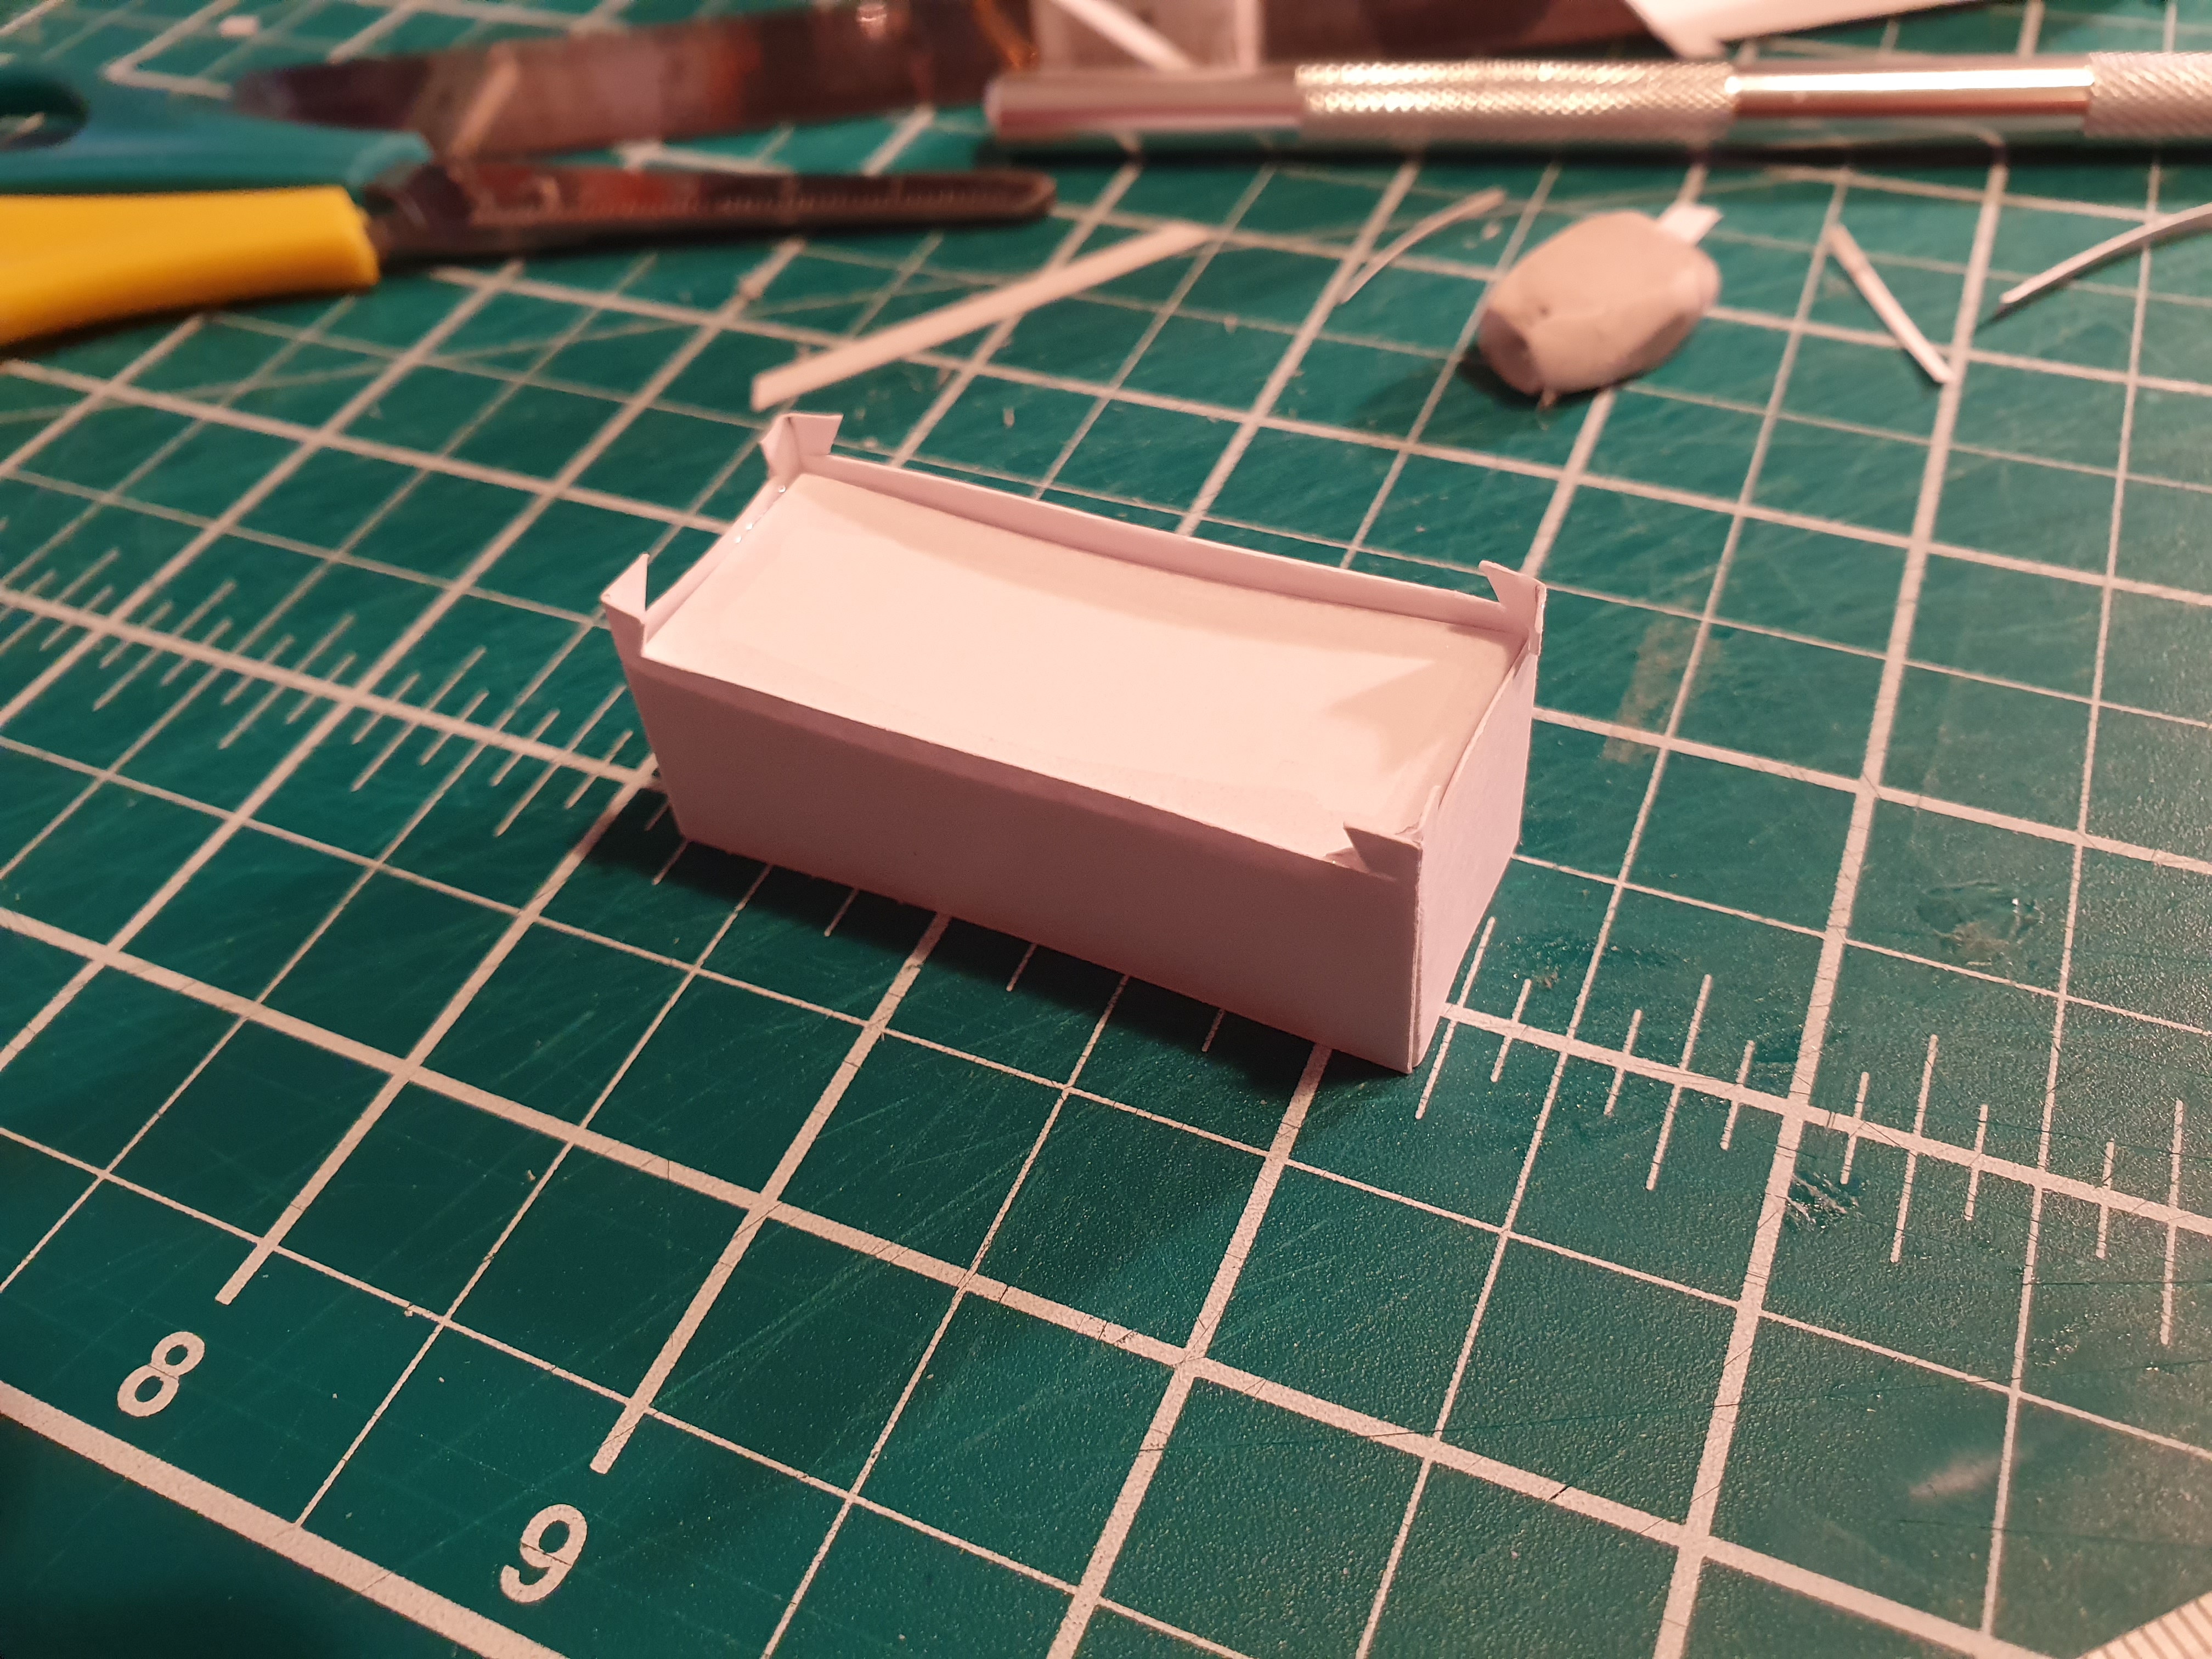
The last but major part of the main model making process was to create the furniture. I drew some sketches to begin with which helped guide me in terms of size and scale, then used my heavy weight Bristol board for the furniture. I added little details to my interior items such as a base to the toilet and a cistern. I added clawed feet to the bottom of the bathtub and a hat stand for the hall. I drew all the details on the furniture in pencil like the models I had studied. My lines weren’t as accurate, but still expressive of the era, such as styling the fridge to follow a classic 1950s design.
Once I’d finished the model I was really with the result and began adding cutting red and blue paper to represent the two different types of graphics identified in the script.
Red = Mentioned directly in the script.
Blue = Inferred as background design.
Overall, I’m really happy with the model. It definitely helped me when it came to brief 2 “Amelia”, in designing the graphics for the flat. It’s a decent example of a white card maquette used for filmmaking and I’m quite proud of it for a single week’s work. Here’s the list of the graphics represented by coloured notes on the model….
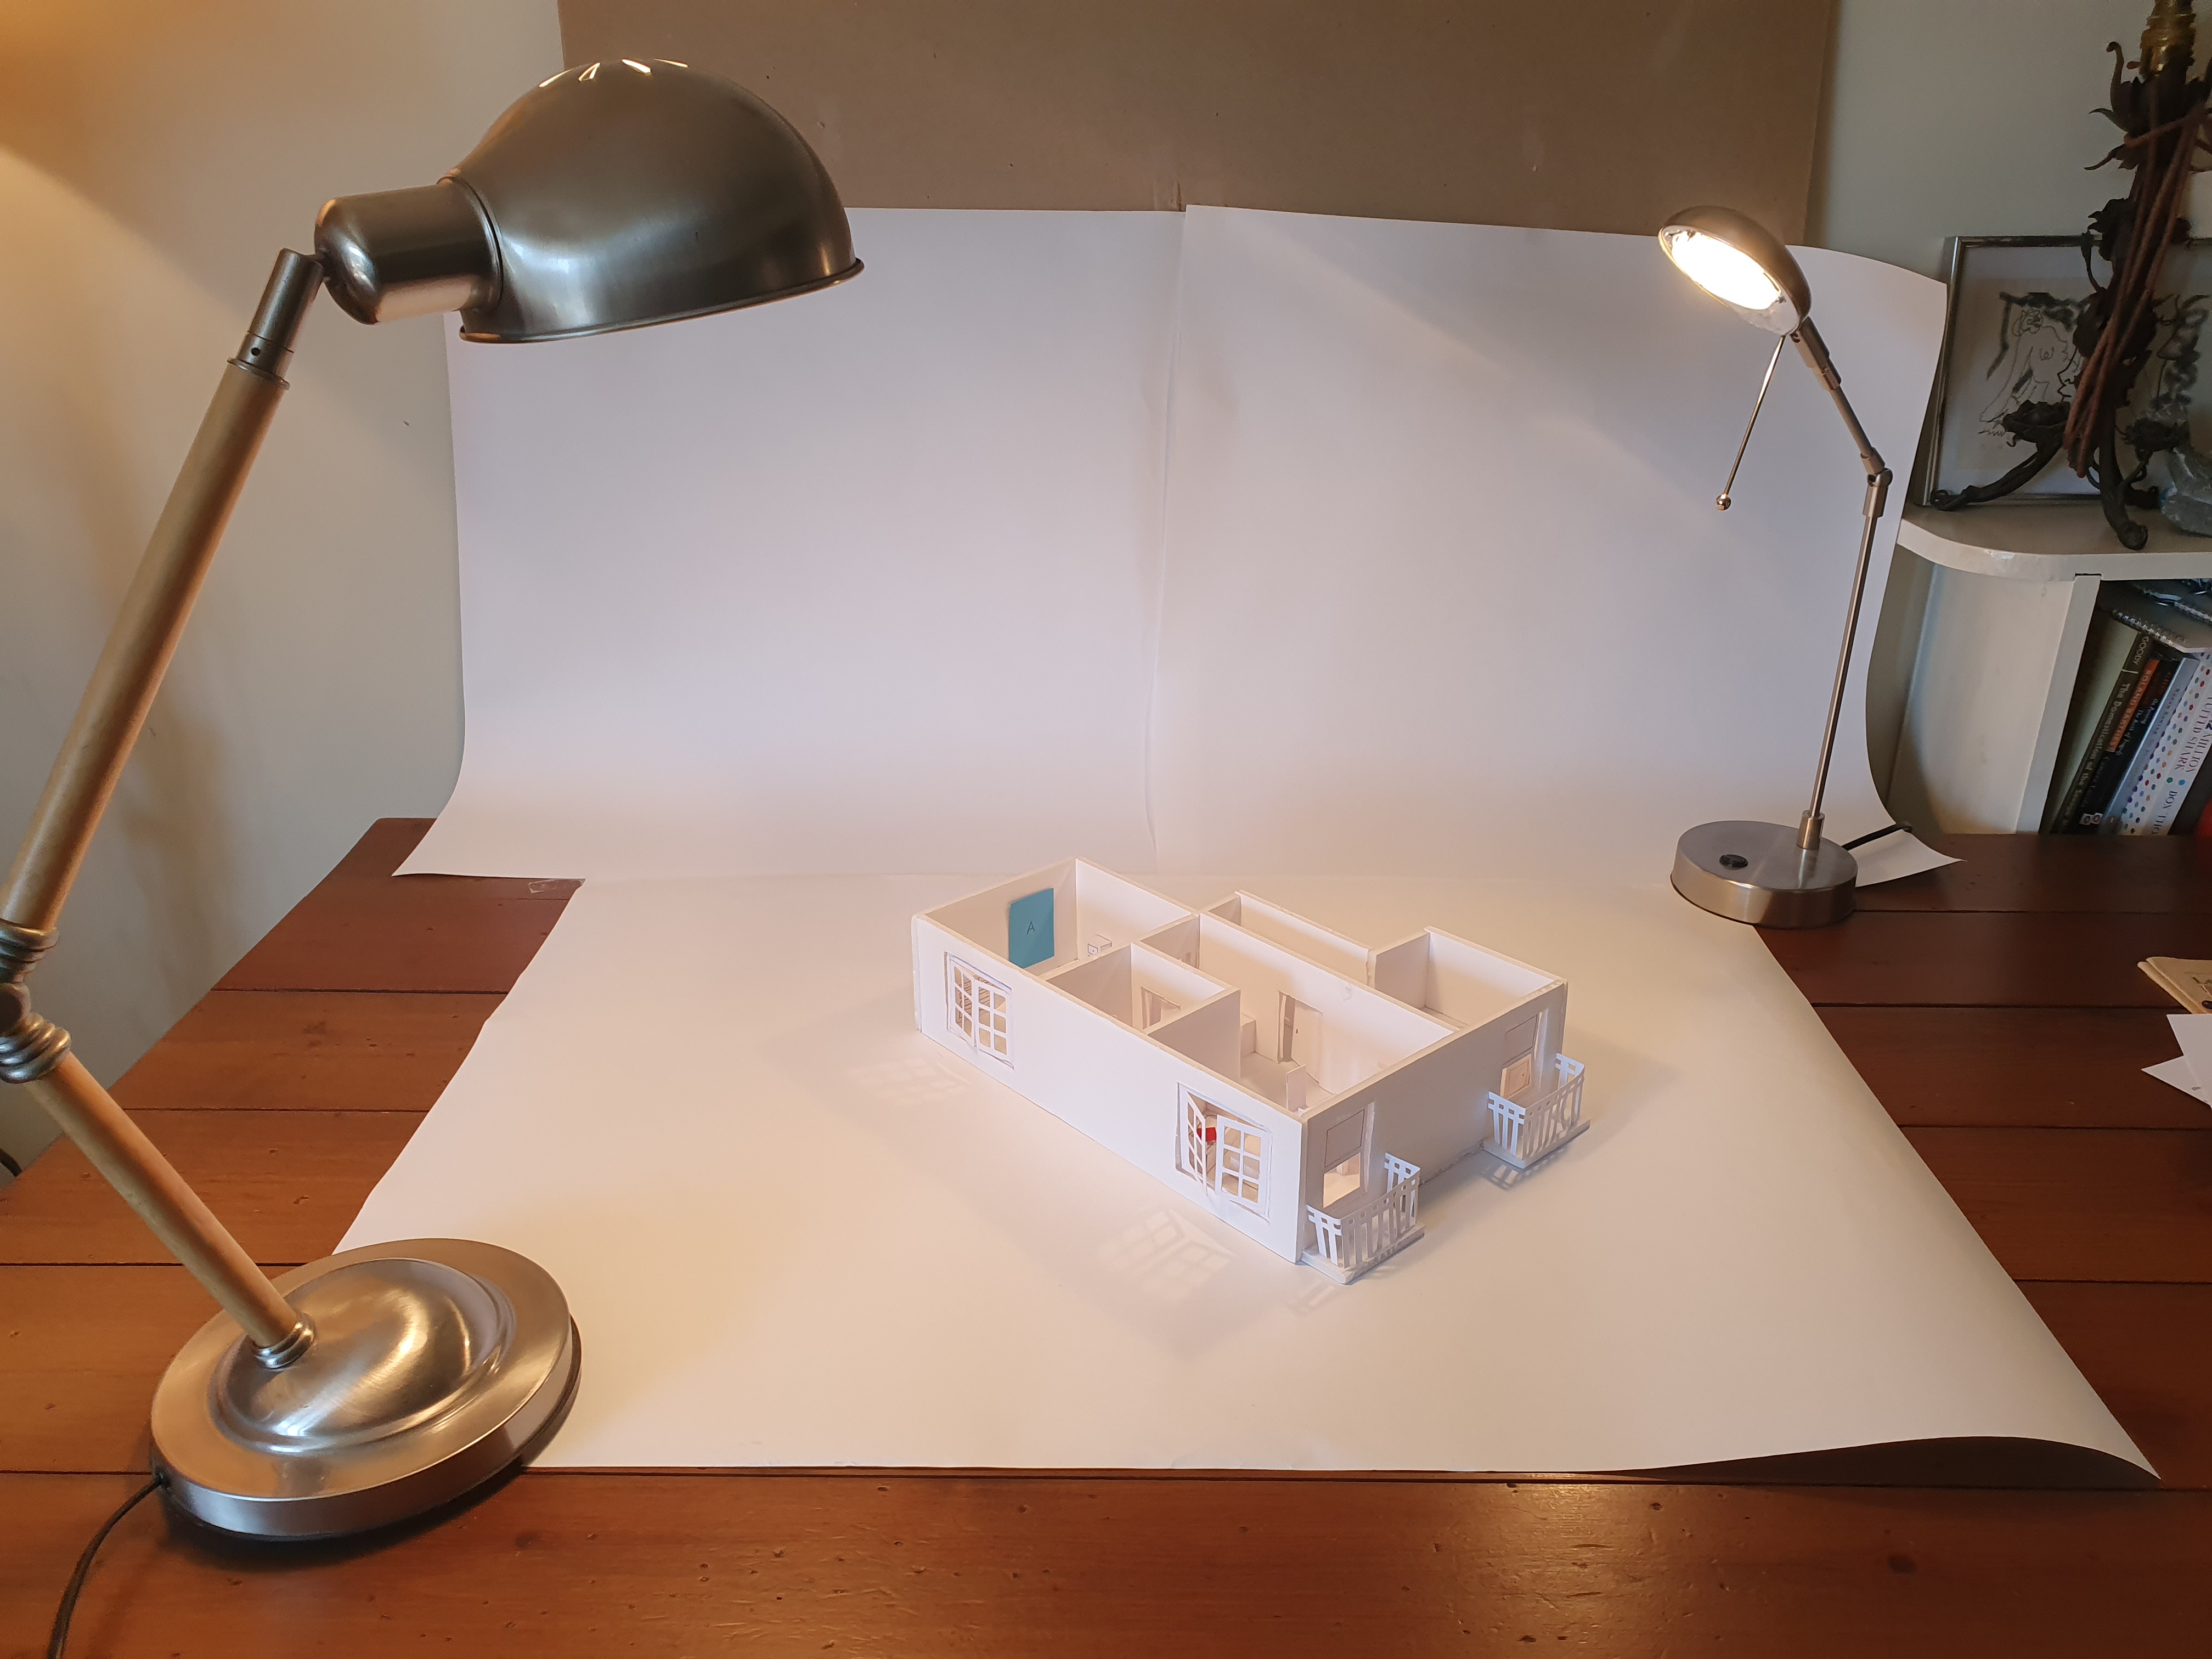
Once I’d finished my model I wanted to document it, but didn’t have much professional equipment to do so because quarantine had begun. I tried my best to set up a photography studio by taking 3 sheets of A1 white paper and taping it to a big sheet of board and the table. For lighting I used 2 table laps, one in the top right corner and one in the bottom left. This worked quite well for a makeshift photography studio, so I began by photographing and filming the model from lots of angles. I filmed wide shots of the whole model and close-ups inside. I edited the footage together in Final Cut Pro X keept the pace of the film fast and intriguing. I’m quite proud of the result. You can see the final maquette photos here on my website https://samuel-thomas.com/white-card-model/ at the bottom of the page is also a link to the final Youtube video.
I wish I could have found some kind of spinning device with which to rotate the model smoothly instead of me moving the camera around it, but I couldn’t find anything that would do. Although I didn’t have access to any decent facilities, the makeshift photography studio I whipped up worked surprisingly well for documenting.